
So you have a campaign idea ready for execution, but you are worried about costs to having a third party set up and monitor the campaign for you and you prefer doing everything yourself. Well COLONY is the definite solution to your concerns. COLONY makes setting up and monitoring campaign performance “a walk in the park”. With its user friendly environment you can set multiple campaigns in a matter of minutes. But you ask how! Well that’s what I’m here to do. I am going to break down how to set up a basic campaign on COLONY in a matter of minutes following this easy guide.
STEP 1
Go to COLONY’s website. After arriving at the home page, once you done admiring the website, click on “Login”

STEP 2
Enter your COLONY related email address and password. After that ensure you authorise your login details.

STEP 3
CAMPAIGN SET UP
It’s time to make your campaign
Once on “Commence COLONY” page.
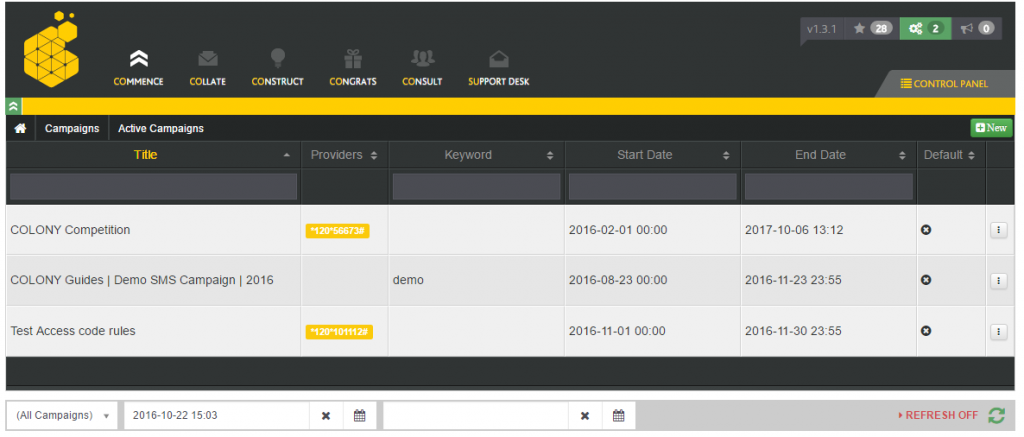
- Click on the Control Panel to bring down the drop down menu
- Click the Campaigns
- Since it is your first campaign you want to get started, click on active campaign
Click the green “New” icon
A pop up screen will appear in which you must put in your campaign details {Title; Keyword; Start Date and End Date}
Your campaign will now exist on COLONY - Now that your campaign is now active, you need to select a provider you would like for your campaign.
- This can be a SMS short code, USSD String, Twitter Handle or other
- To add a provider, click on the campaign drop and select “Manage provider”
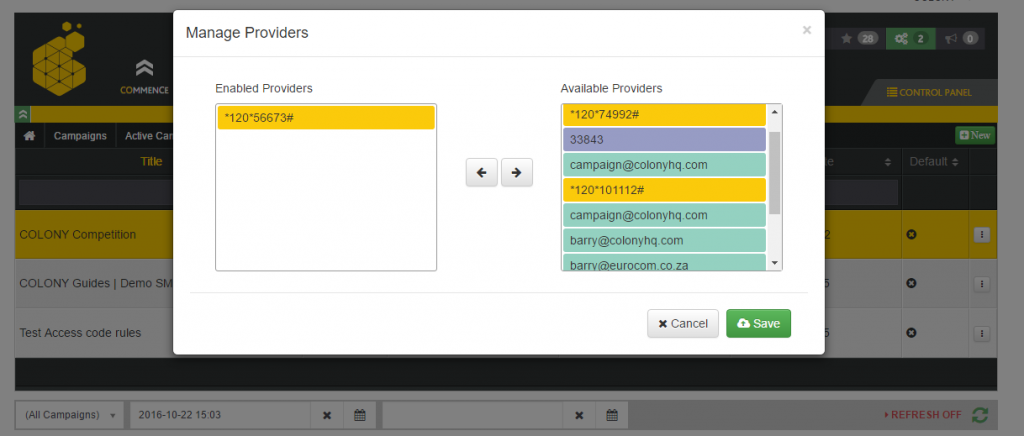
Add your provider you want to use by moving the selected available provider to “Enabled Providers”
From there you have a campaign active and you can test the campaign on your phone.